Tips and Tricks
Yarn
Tested:
Yarn Thickness Nm 3 to Nm 4 (150m/50g)
- Nylon or cotton
- You get about 100 rows at 60 needles/row out of 50g
- Nice look, no stretching
-
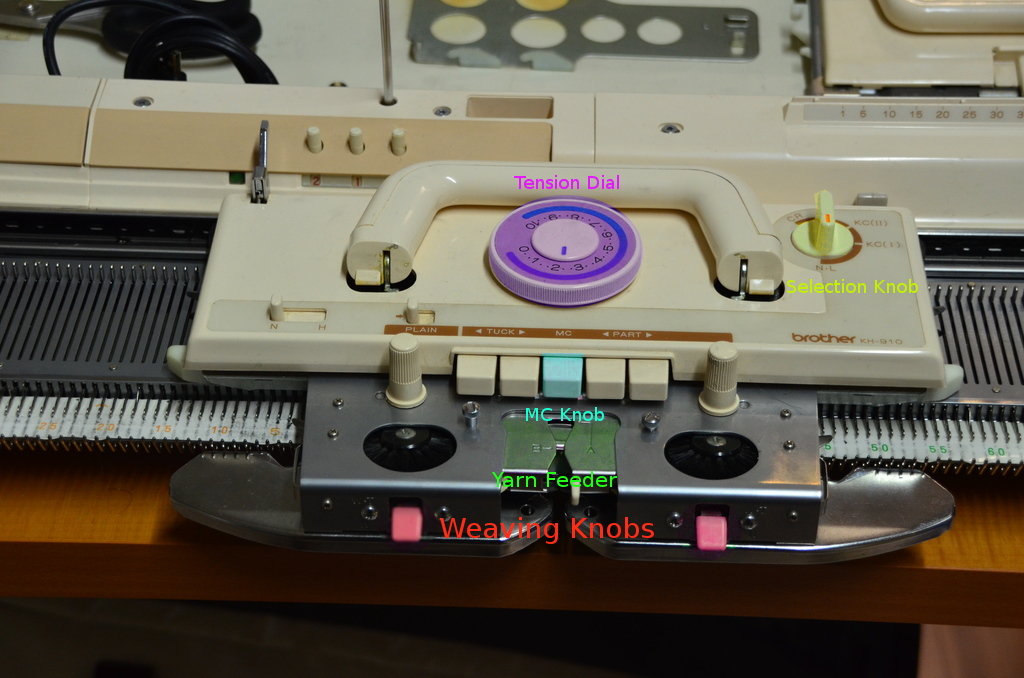
Set the Tension Dial to 10
- Problems:
- Sometimes, the contrast yarn doesn’t get picked-up by the needles –> check every row!
- Sometimes, the yarn gets tangled in the gears, see troubleshoot
Yarn Thickness Nm 7 (350m/50g)
- Nylon or cotton
- Easy knitting
- Gets a bit stretched
- Set the Tension Dial between 3 and 6
- Problems:
- Caused by the stretching of the knitted work (because of the smaller stitches), there are very long unknitted contrast yarns on the backside. Better knit with KC(II), so you have less unknitted yarn on the backside.
Troubleshooting
- Sometimes, when you knit a bit to fast, or with a wrong tension selection, the yarn gets tangled in the gears under the carriage. To prevent this: Knit slow and always have a look if the needles are open and the yarn is not too tensed. If the carriage gets struggled a bit: STOP. Now take a close look on the situation from the bottom. Maybe you can loosen the gears a bit and release the yarn from its impasse. Don’t forget to tighten the gears again. If this doesn’t help: Release the yarn feeding unit from the carriage, cleanup the situation and put it on again.
- Always change the yarn on the left side
- If your yarn ends, DO NOT attach a new yarn with a knot.
Step by Step Two-Color-Knitting
Machine Setup
- Open the case
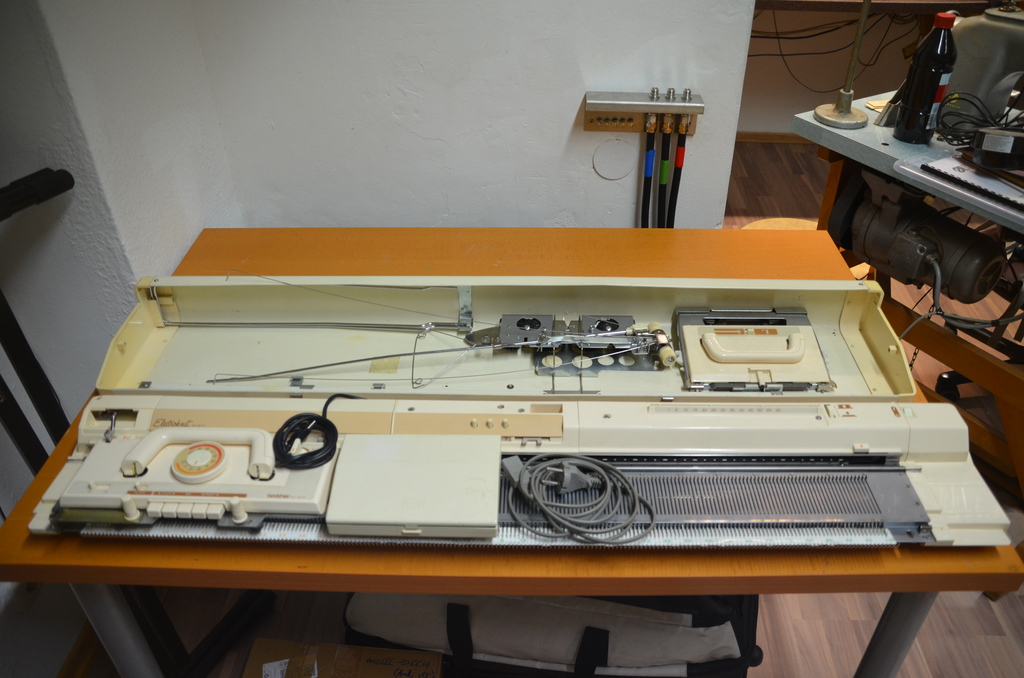
- Place the machine and fix it with the table clamps
- Remove the carriage lock and set up the sinker plate assembly on the carriage
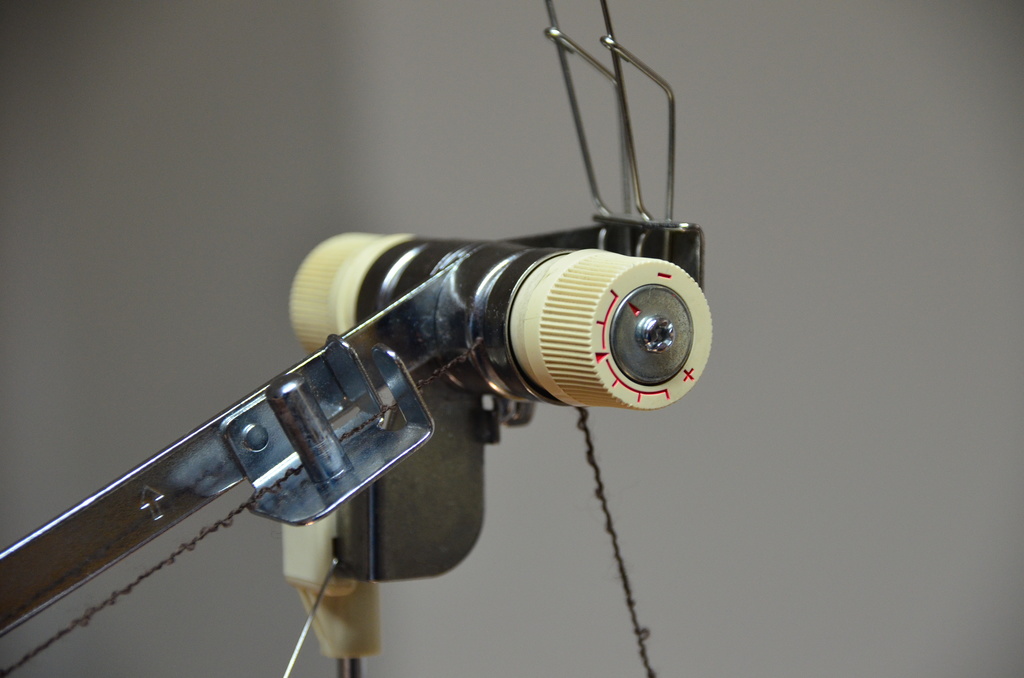
- Set up the yarn tension unit and insert the extension rails
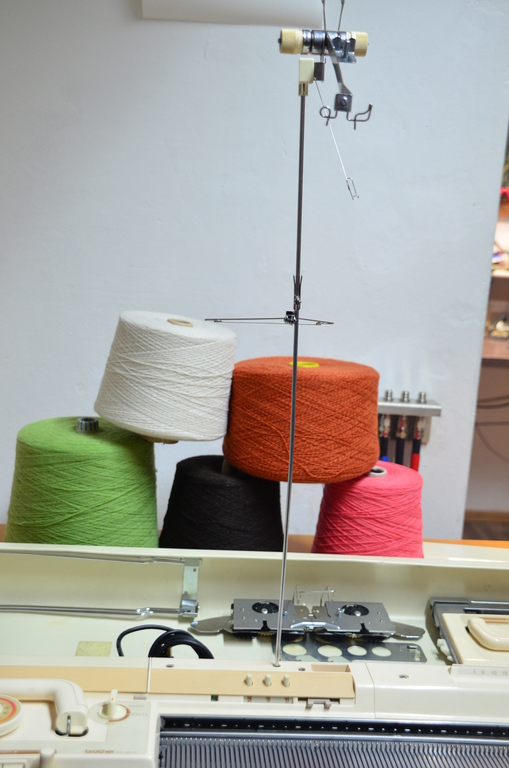
- Feed the main yarn into the yarn tension unit
- Set the arrow mark on the yarn disks according to the thickness of your yarn
Now your Setup should look like in this picture:
TODO: Picture of whole Machine
Connect the Machine to your Computer
For information on how to use the AYAB Control software, see Software
First Rows
Start with Weaving Pattern
- Put the carriage on the right side of the machine
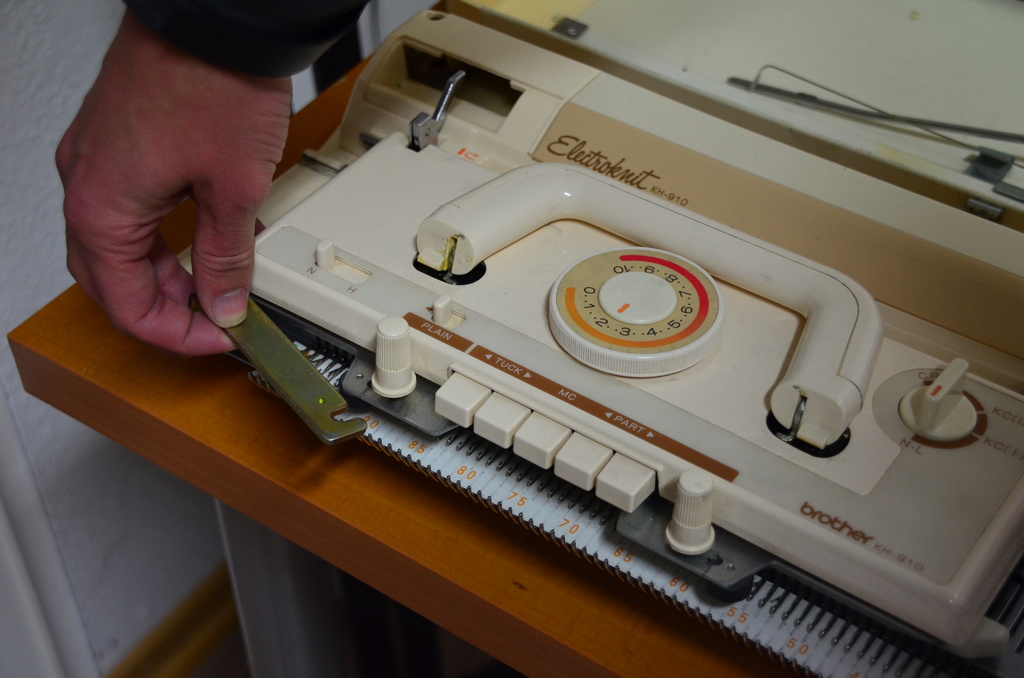
- Bring the required needles to position B
- Setup the carriage (Selection Knob on N.L., Front Knobs on W.T., left Knob on N)
- Bring every second needle to position D
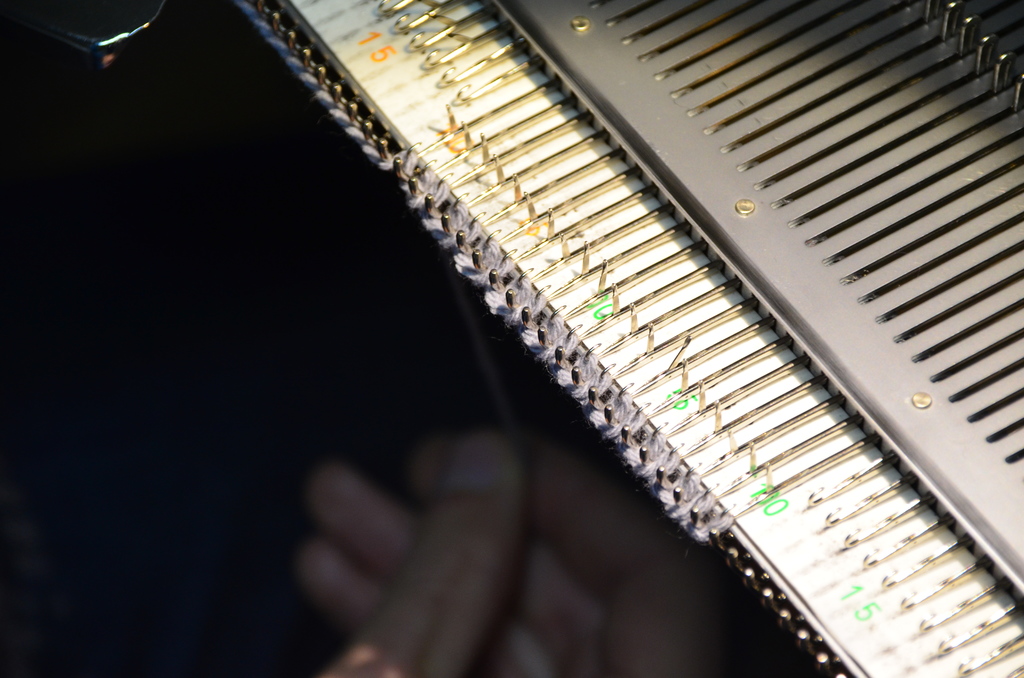
- Put the main-yarn into the yarn feeder A and select a tension on the Tension Dial according to your yarn thickness (1 for very thin yarn, 10 for thick yarn)
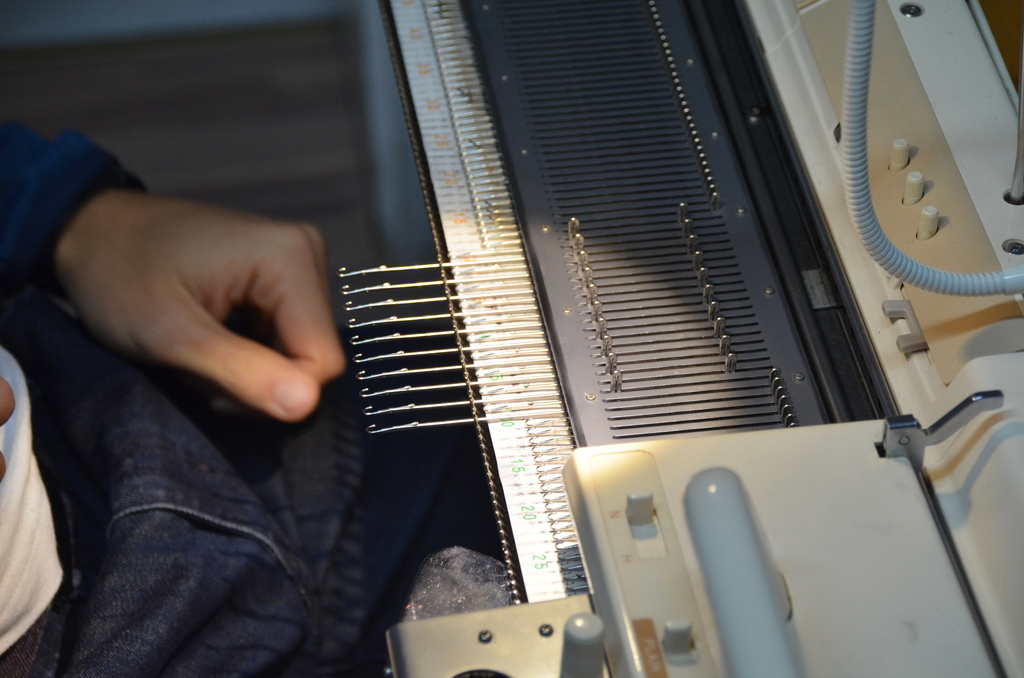
- Lay the Yarn over the needles in position D and holt it with your left hand
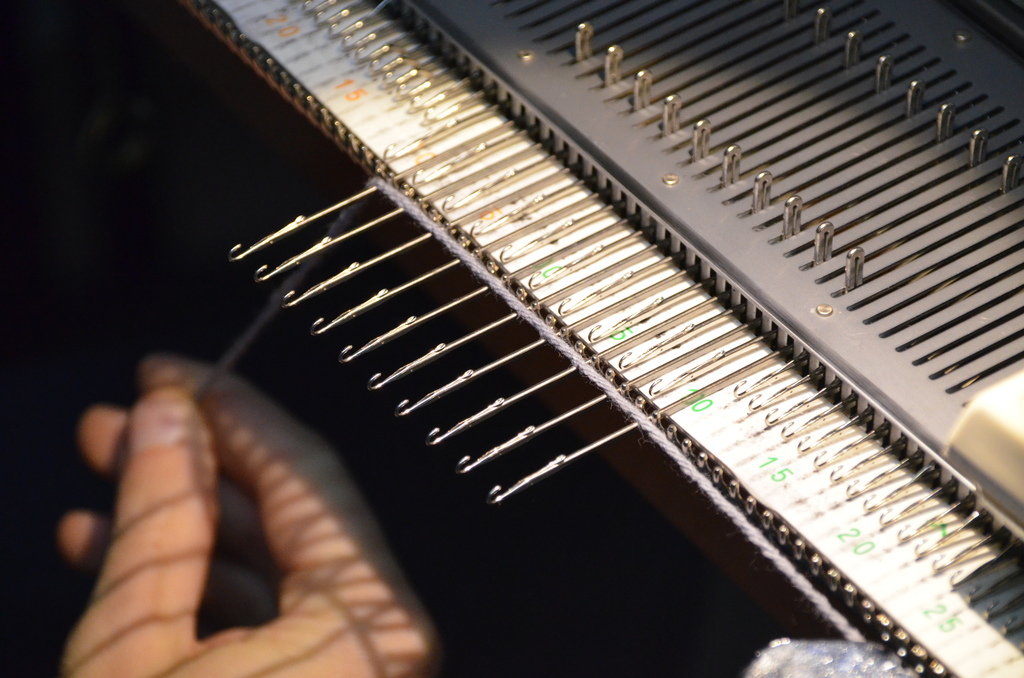
- Pull the yarn down gently an knit from right to left very SLOWLY
- Check if the yarn is on all needles and the check if all needles are open
- Continue knitting for 5-6 rows, still hold the yarn with your left hand
- check after each row if everything is fine
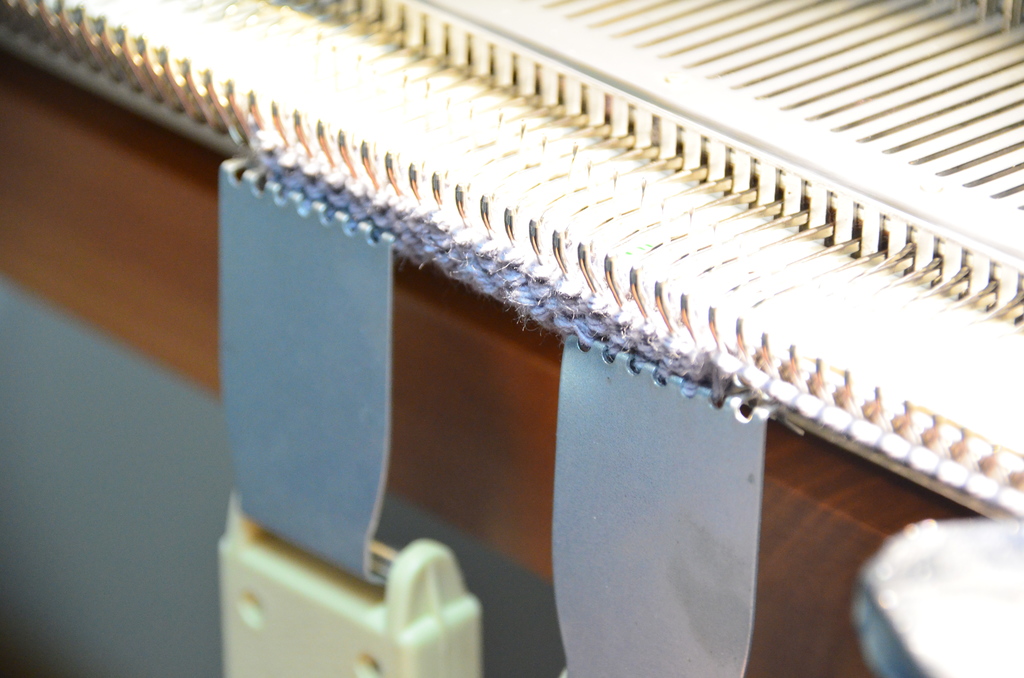
- Put on some weights
- Return the weaving pattern lever Knob (front knob) to N
- Smile and continue knitting
Start with Finished Edge
TODO
Two-Color-Knitting
Start the Job in the python-script by select menu No. 9
- Be sure that the carriage is behind the left return mark
- Select KC(II) on the selection Knob
- Move the carriage a bit to the right passing the return mark and press Enter
- If everything is fine, you should see “Ready to operate” on the screen and her a BEEP from the machine
- Move the carriage to the right until you hear a second BEEP. Now the needles should be selected for the first colored row
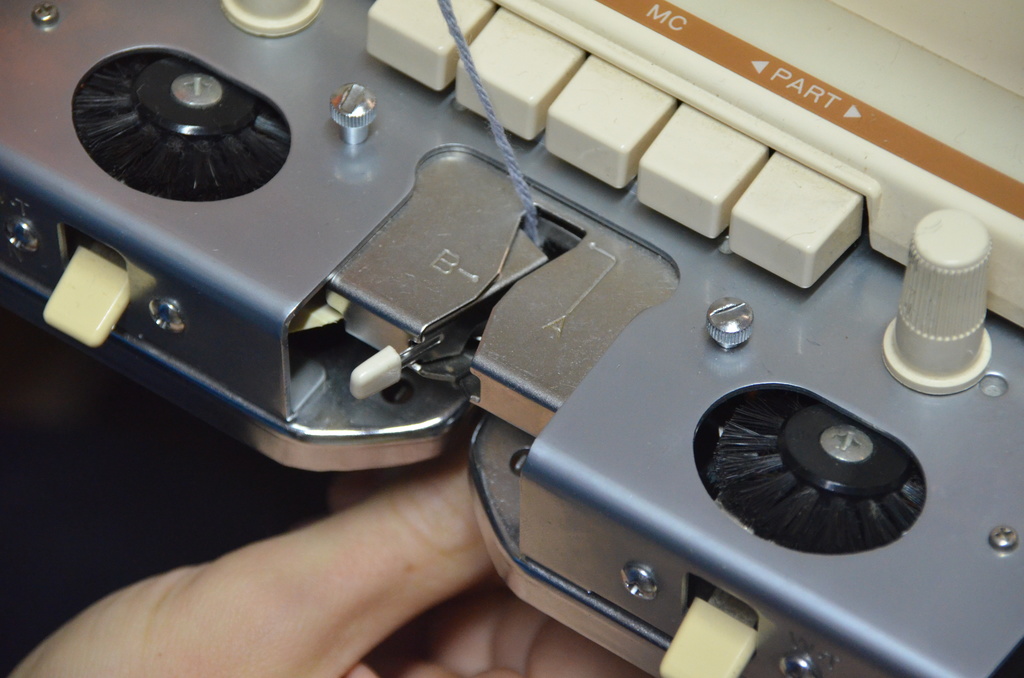
- Put the contrast yarn into the yarn feeder B
- Press the MC-Button
- Hold the contrast yarn with one hand and move the carriage slowly to the left until the next BEEP
- Check if everything is fine with this row. Sometimes the first or last needle in D-Position don’t get the contrast-yarn
- Hold the yarn with one hand for the next few rows
- Continue knitting until the machine stops beeping
- Remove the contrast yarn, press the Plain-Knob, select N.L. on the selection knob
- Continue knitting for some rows
- FINISHED
Last Row
TODO